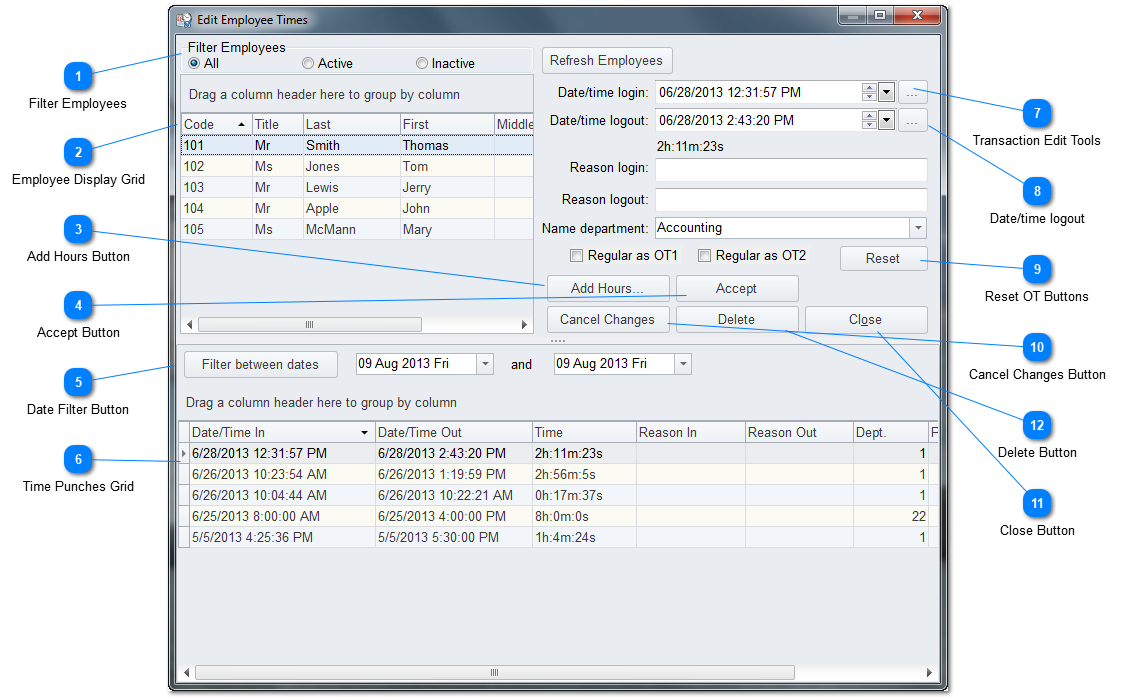
This is the Edit Employee Times Tool. Click on Time List button and you will see the screen above. This is where you can edit existing time transaction as well as add and delete them as needed.
By clicking on the titles in the display grids, you can sort the display order. An example is to click on the Last Name title. It will sort and clicking it again, will cause it to sort in the opposite direction.
As you see above, a transaction is selected. If needed, you can edit the transaction in the right side of the screen and then click the Accept button to save your changes.
You can use the filter to just display a single date to make it easy to "review" your employee punches.
You can also select a transaction and set the transaction as Overtime One or Overtime Two. This is useful as an example if you pay employees overtime if they work on a Holiday
Filter Employees
You can set the Filter to display the employees, All employees, just Active or those marked as Inactive. This makes it easy so you don't need to scroll through a lot of data.
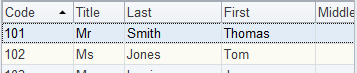
This is the list of Employees and can be sorted just like other grids by clicking on the title bar like "Last" to sort by last name and such. To see and work on a particular employee's time transactions, click on the employee's line to highlight it and their time data will display below.
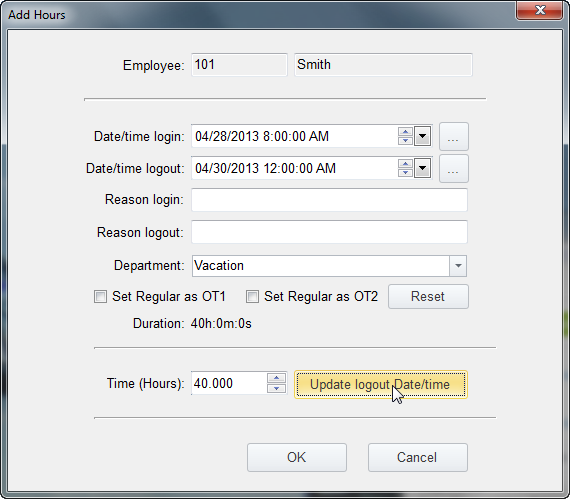
If you click on the "Add Hours…" button you can add a transaction for an employee that may be out on a job that is on location. Or add Vacation, Sick or Holiday hours. Click the Add button to see the following page.
In the above example we typed in 40 hours, selected Vacation from the Department list and clicked on the "Update logout Date/Time" button to force a 40 hour perod. You can save that transaction to the list by clicking on OK and click on the Accept button to store the changes.
This grid displays the time transactions for the selected employee. To edit a transaction, click on the transaction line to highlight the line and make the edits in the tool in the upper right side of the screen.
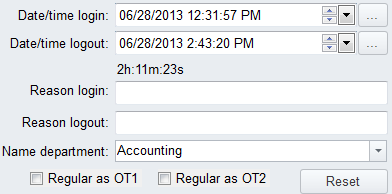
You can edit existing time transactions by selecting an employee from the employee display grid and then selecting an existing time transaction and using these tools to edit. When you are done making changes, click the Accept button.
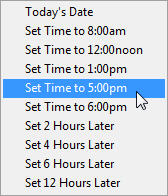
The small "…" button next to the date/time entry will give you a quick entry for today's date and some often used times as seen below.
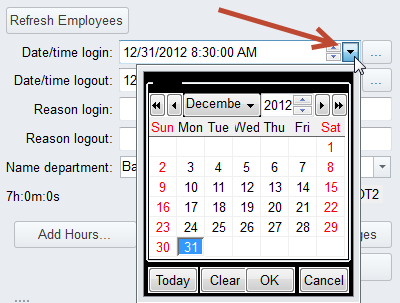
The small down arrow button by the date/time entries opens a calendar to select a date from as seen below.
The Accept button will save and store any changes that you made.
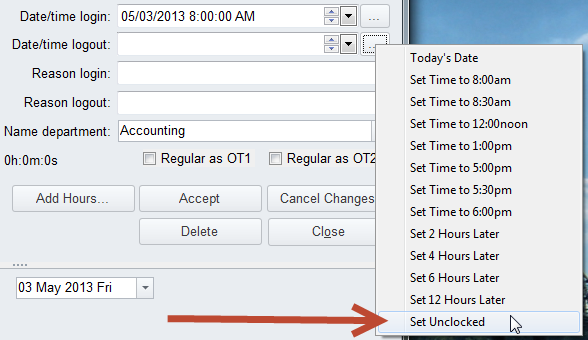
If you want to punch an employee in in teh Administrator tools, you can add ours with the Add Hours Button and then edit the Date/time logout with the small three dot button and select set Unclocked as seen below and then save the record.