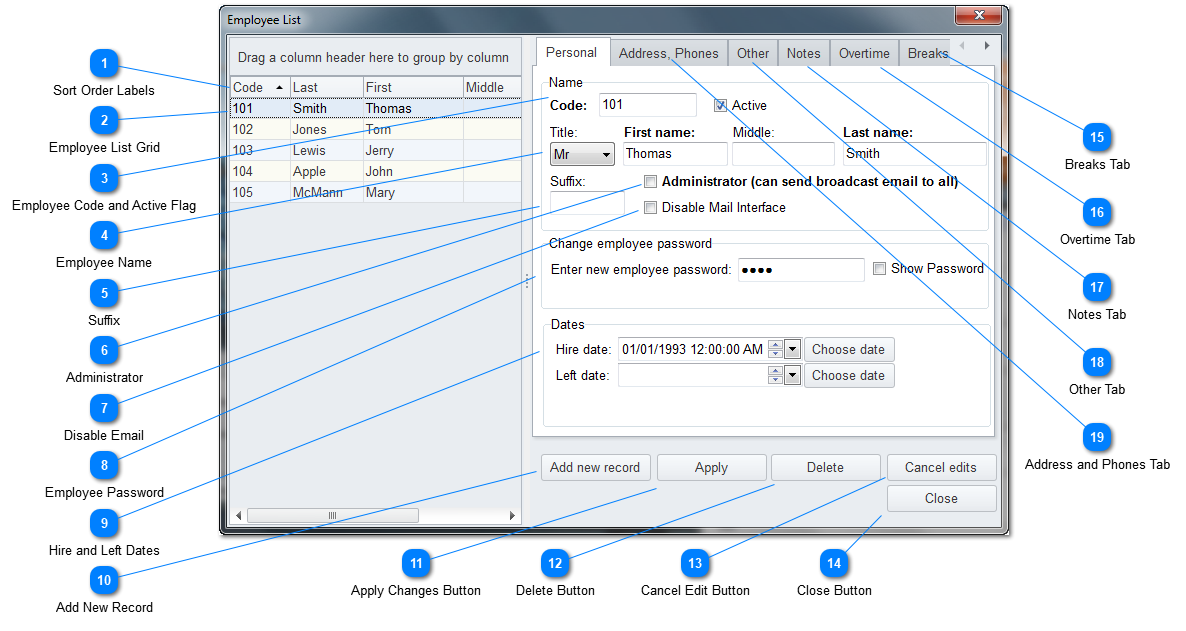
This page will explain on setting up the employees. Click on the "Employee List" button from the main page and you will see this page above.
You can sort the employee list by clicking on the "titles" of the list. If you look above, we clicked "Last" to sort by Last Name. This shows the information that was imported in for each employee. In the "Personal" tab, the default password for all employees is "pass" and you can assign new passwords in this page or allow the employees to go into the Employee interface (tcw.exe) and change their own password.
If you check the "Administrator" checkbox, this employee will be able to open and close the Employee interface and send broadcast emails to "All" employees. For you to be able to perform the mass emails, you must enter yourself into the database and assign your record to be an Administrator too.
If you are not a PayWindow users, you will be entering the information by hand.
Sort Order Labels
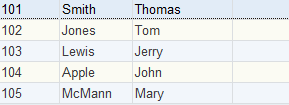
You can sort the employee list by clicking on the "titles" of the list. So you can sort by Code, Last Name, or First Name. If you look above, we clicked "Code" to sort by Employee Code.
This is the grid where the employee names are displayed. If you click on an employee's name, that will select the employee and display their information for editing in the area on the right.
The employee code must always be in sync with the code in PayWindow as that is how we match up to post the hours into PayWindow when exporting. This is why if you are using PayWindow that you import this data from PayWindow. If you are not a PayWindow payroll user, think of this number as the employee's Unique Identification number. No two employees can have the same number as it is used to sync the time stamps with the employee in reports and such.
The Active checkbox if unchecked disables the employee from the employee list in the employee interface.
This is where you will enter the Employee's password. It will be hidden by asterisks as seen above unless you check the Show Password box to see what you entered.
Use the Other tab for selecting the Departments that will be available to this employee to use when punching in and out. You can also enter their date of birth and social security number for information only.