Back on the Database page; use the "Export Employees" button to open the Export tool shown below. (Note there are three Tabbed pages and each is described below.)
Export to PayWindow:
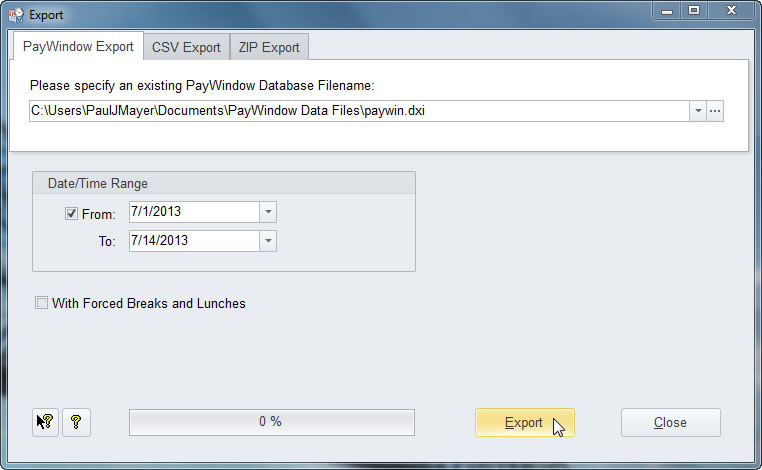
As you can see below, we know where the PayWindow database is and have automatically inserted that information for you. The next thing you want to do is to select the start date and end date for the pay period to export into PayWindow and then click on the "Export Time" button as seen below.
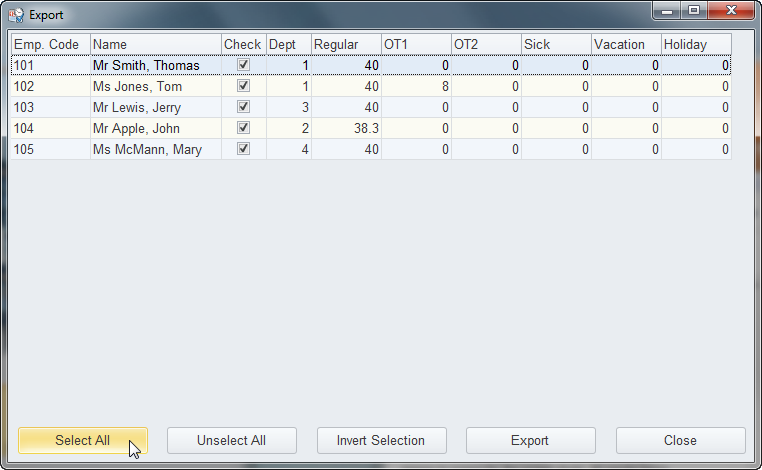
That will open a window with a list of payroll transaction to export to PayWindow. Use the "Select All" button to select all employees and then click on the "Export" button. That will poke the hours into PayWindow and when you go to pay them they will be waiting for you.
Exporting to a CSV File:
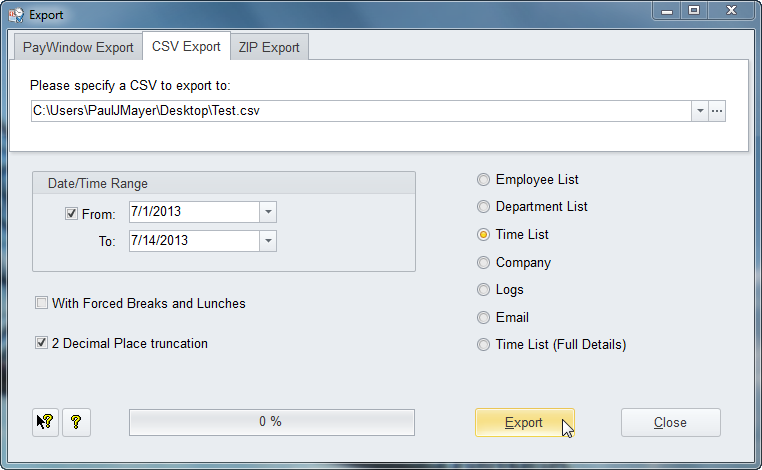
You can use the CSV Export Tab to export to a file that can be opened in Microsoft Excel or imported into software that can import from CSV files. As you can see there are a number of export options and if you have been using TimeClockWindow where we only exported the time for you, that is the option you see selected below named "Time List".
Exporting to a ZIP File:
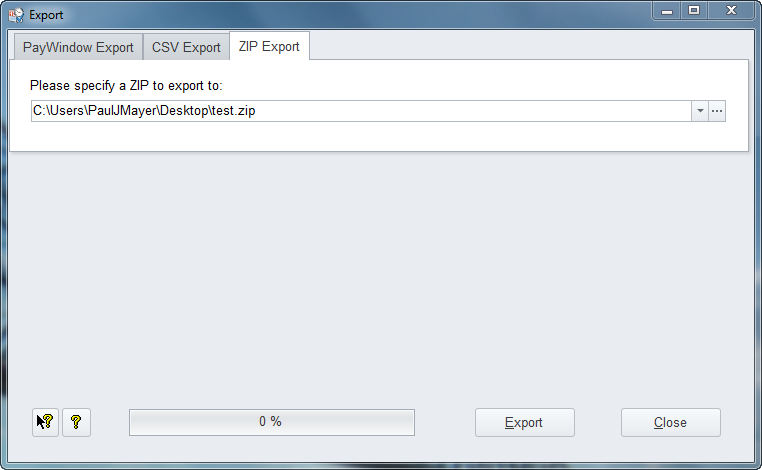
The third Tab is called "ZIP Export" and is only used to create a "backup" file that would be used to create a database system for our new TimeClockWindow Server Internet based time clock system. When setting up the new Internet based system, that file would be used by the system's Restore tool on initial setup. This is not useful for any other purpose that getting a starter set of database files for the new TimeClockWindow Server edition.